

How to post your first bra
Welcome to Bratags! If you're ready to share your first listing, you're in the right place. This quick guide walks you step-by-step through creating a high-quality post that builds trust and gets buyer interest.
The Boudoir runs on a professional publishing platform (Ghost) that’s simple once you know the basics. If you're unsure how to format your listing, add images, or just want to feel more confident before publishing—this in-depth tutorial will walk you through everything you need.
Even if you're already logged into your Dashboard, the Boudoir section uses a separate login system for extra privacy.
Just sign in again here — it’s quick and keeps your experience secure. 💖
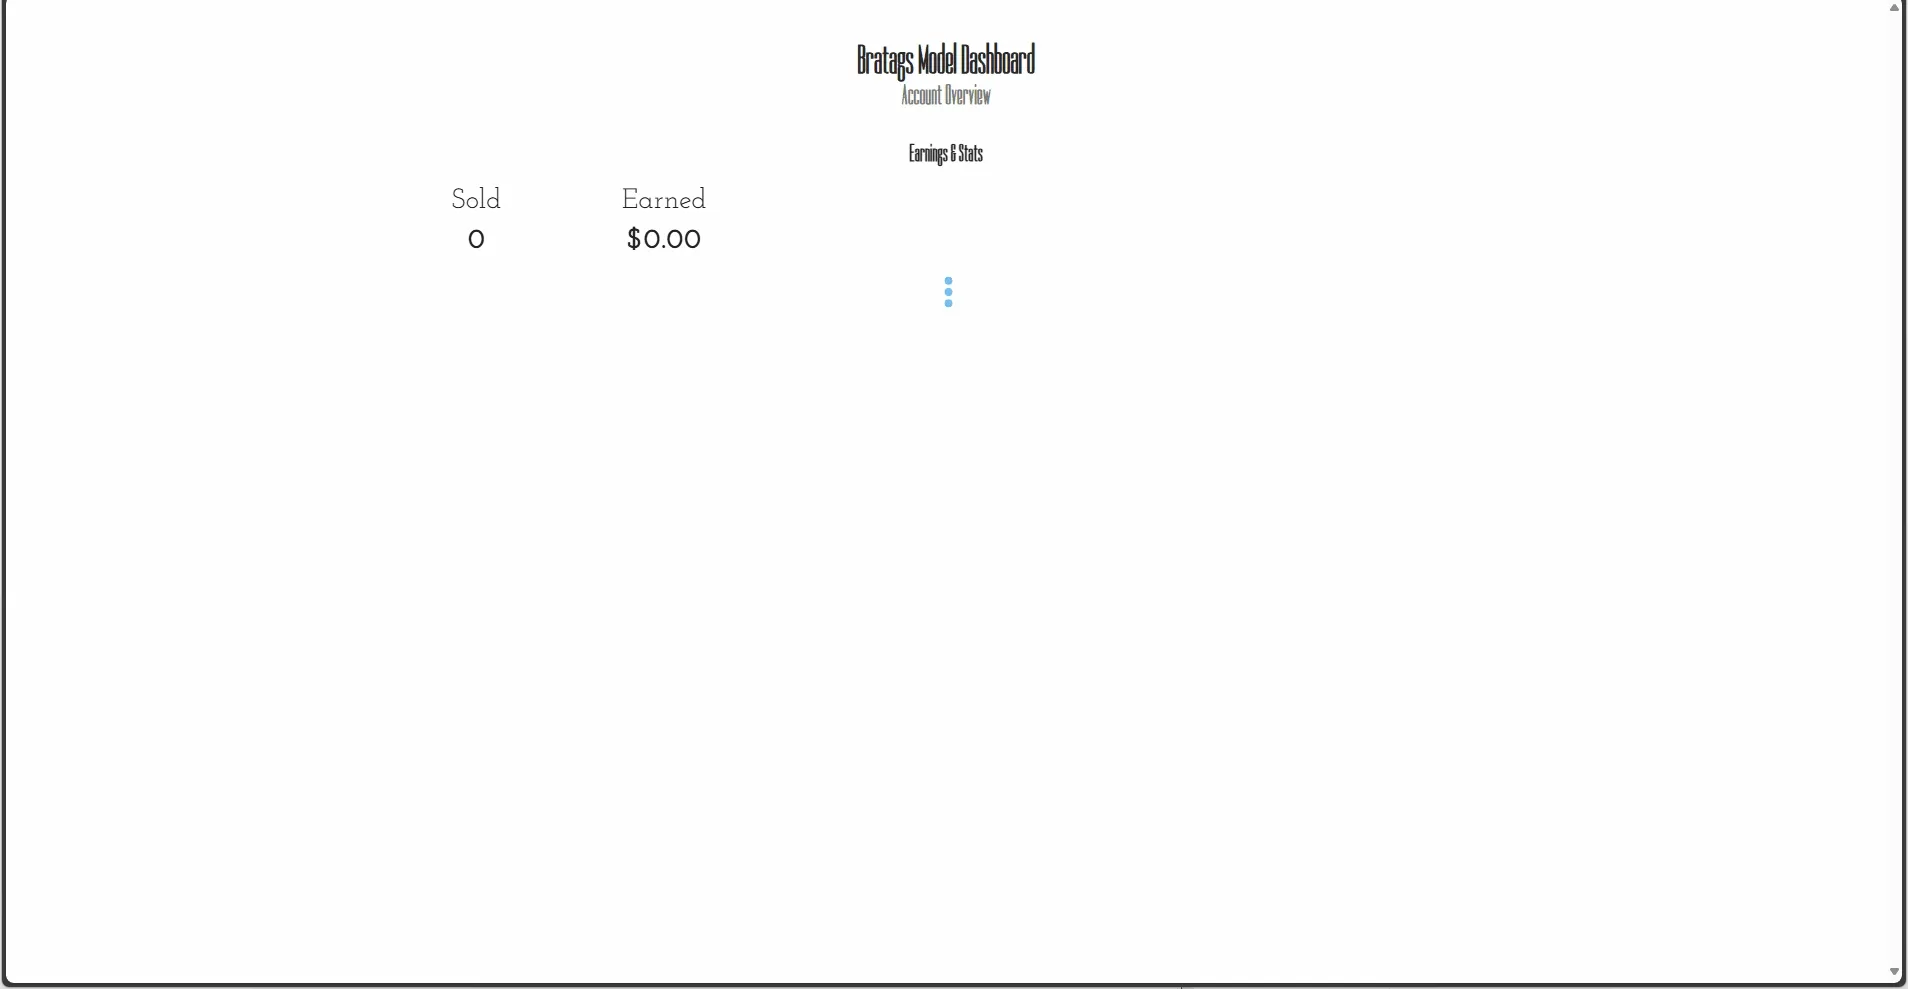
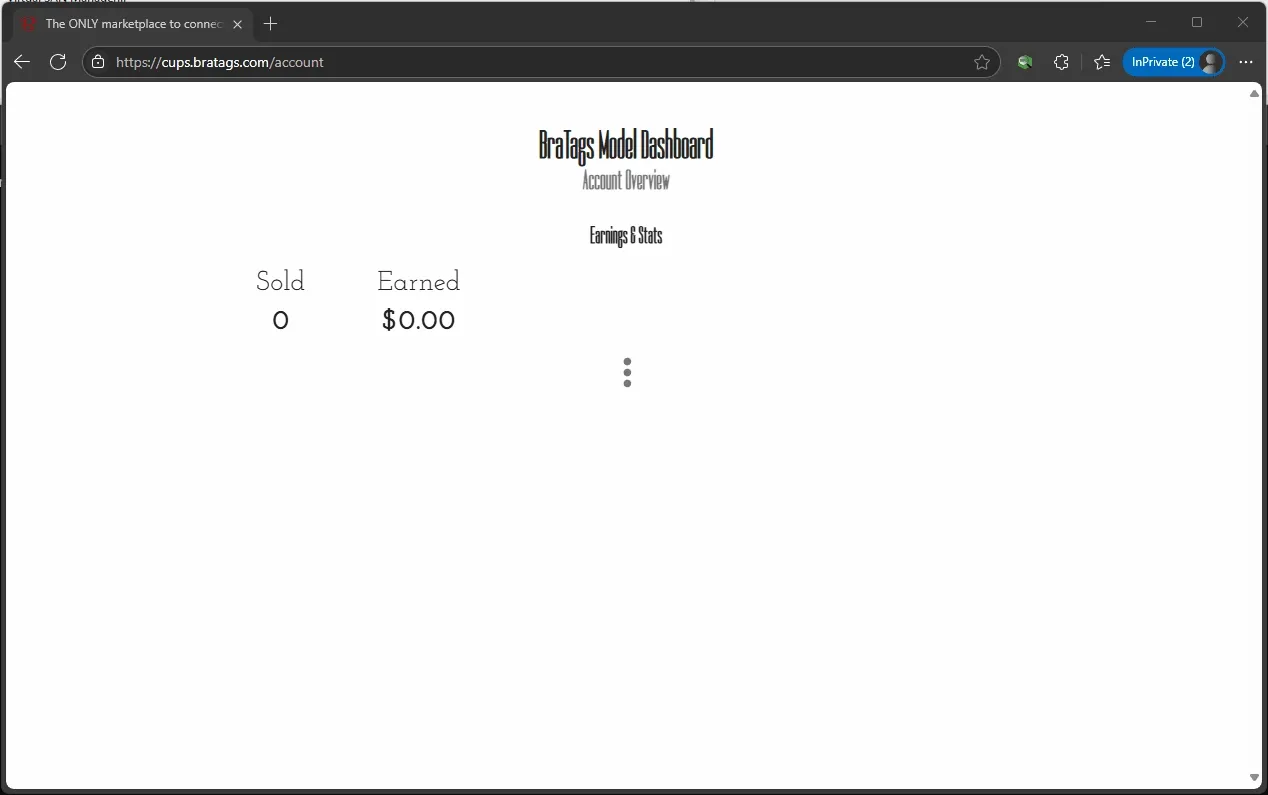
Step 1: Open Your Model Dashboard
Start by visiting your model dashboard. You’ll see your earnings and stats—click the three dots ⋮ to open the menu and begin creating your first listing.

The "BOUDOIR" link will take you to the root of the listings UI where you'll create all of your posts.
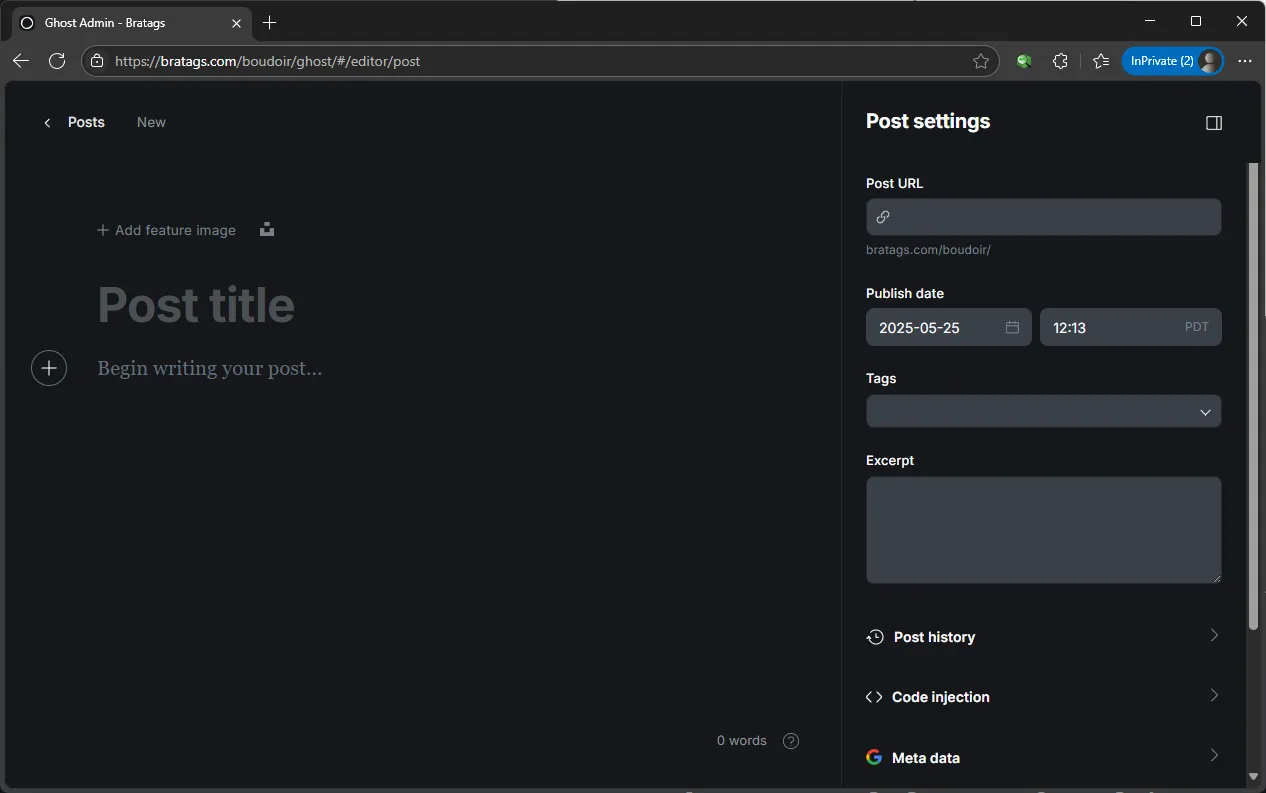
Step 2: Add Listing Details
You’ll be prompted to enter basic information:
- Title – Choose a title that’s personal, intriguing, and evocative—something that tells a story or sparks curiosity. Use words that highlight the bra’s unique qualities or the special moments you wore it in, so buyers feel drawn to the experience behind the item, not just the bra itself.
- Description – Share a brief story or note about when or why you wore the bra. Was it a favorite? A gift? Details help sell the experience.
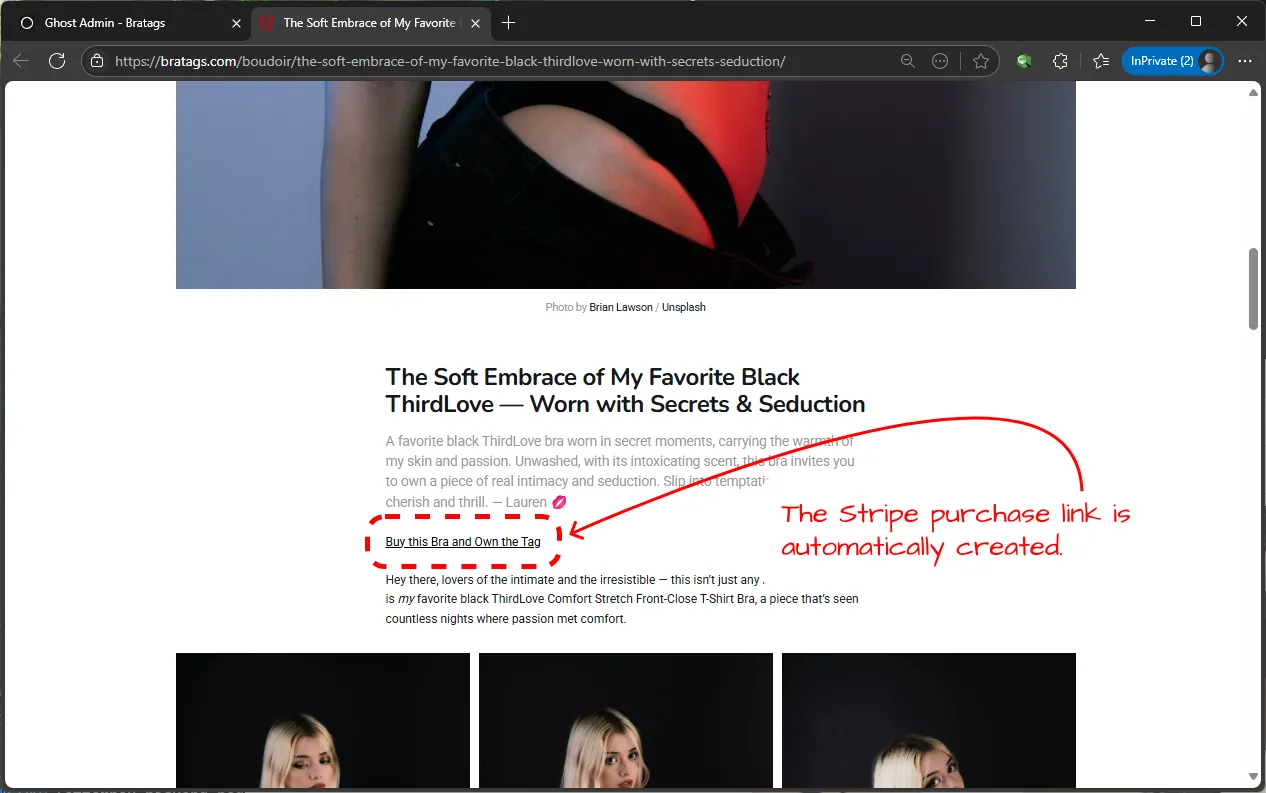
- Price – Make sure to include the price in the Tags field—this is how the Stripe purchase link gets created.
Bras can't sell without purchase links!
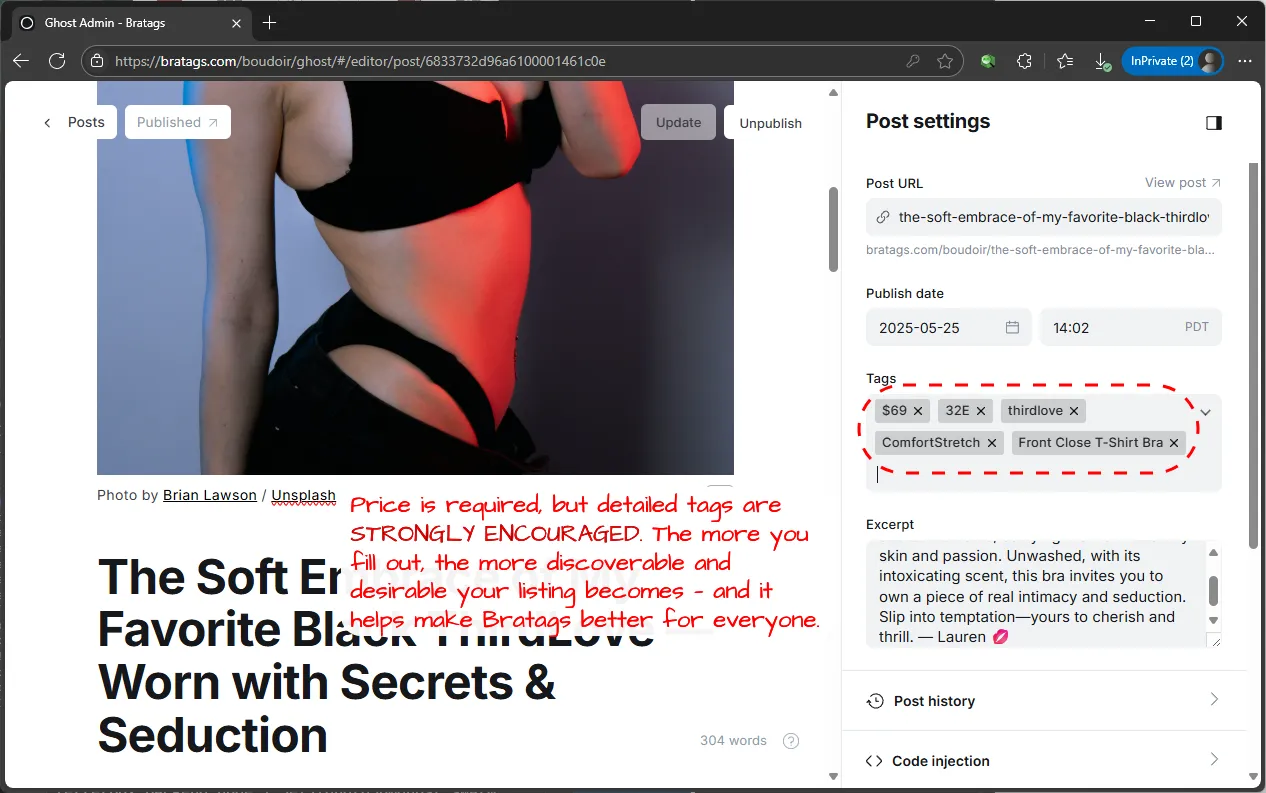
Also, be sure to enter as much info as you can: brand, size, fit notes, and style.
Step 3: Upload Photos (The More the Better)
At a minimum, you should include:
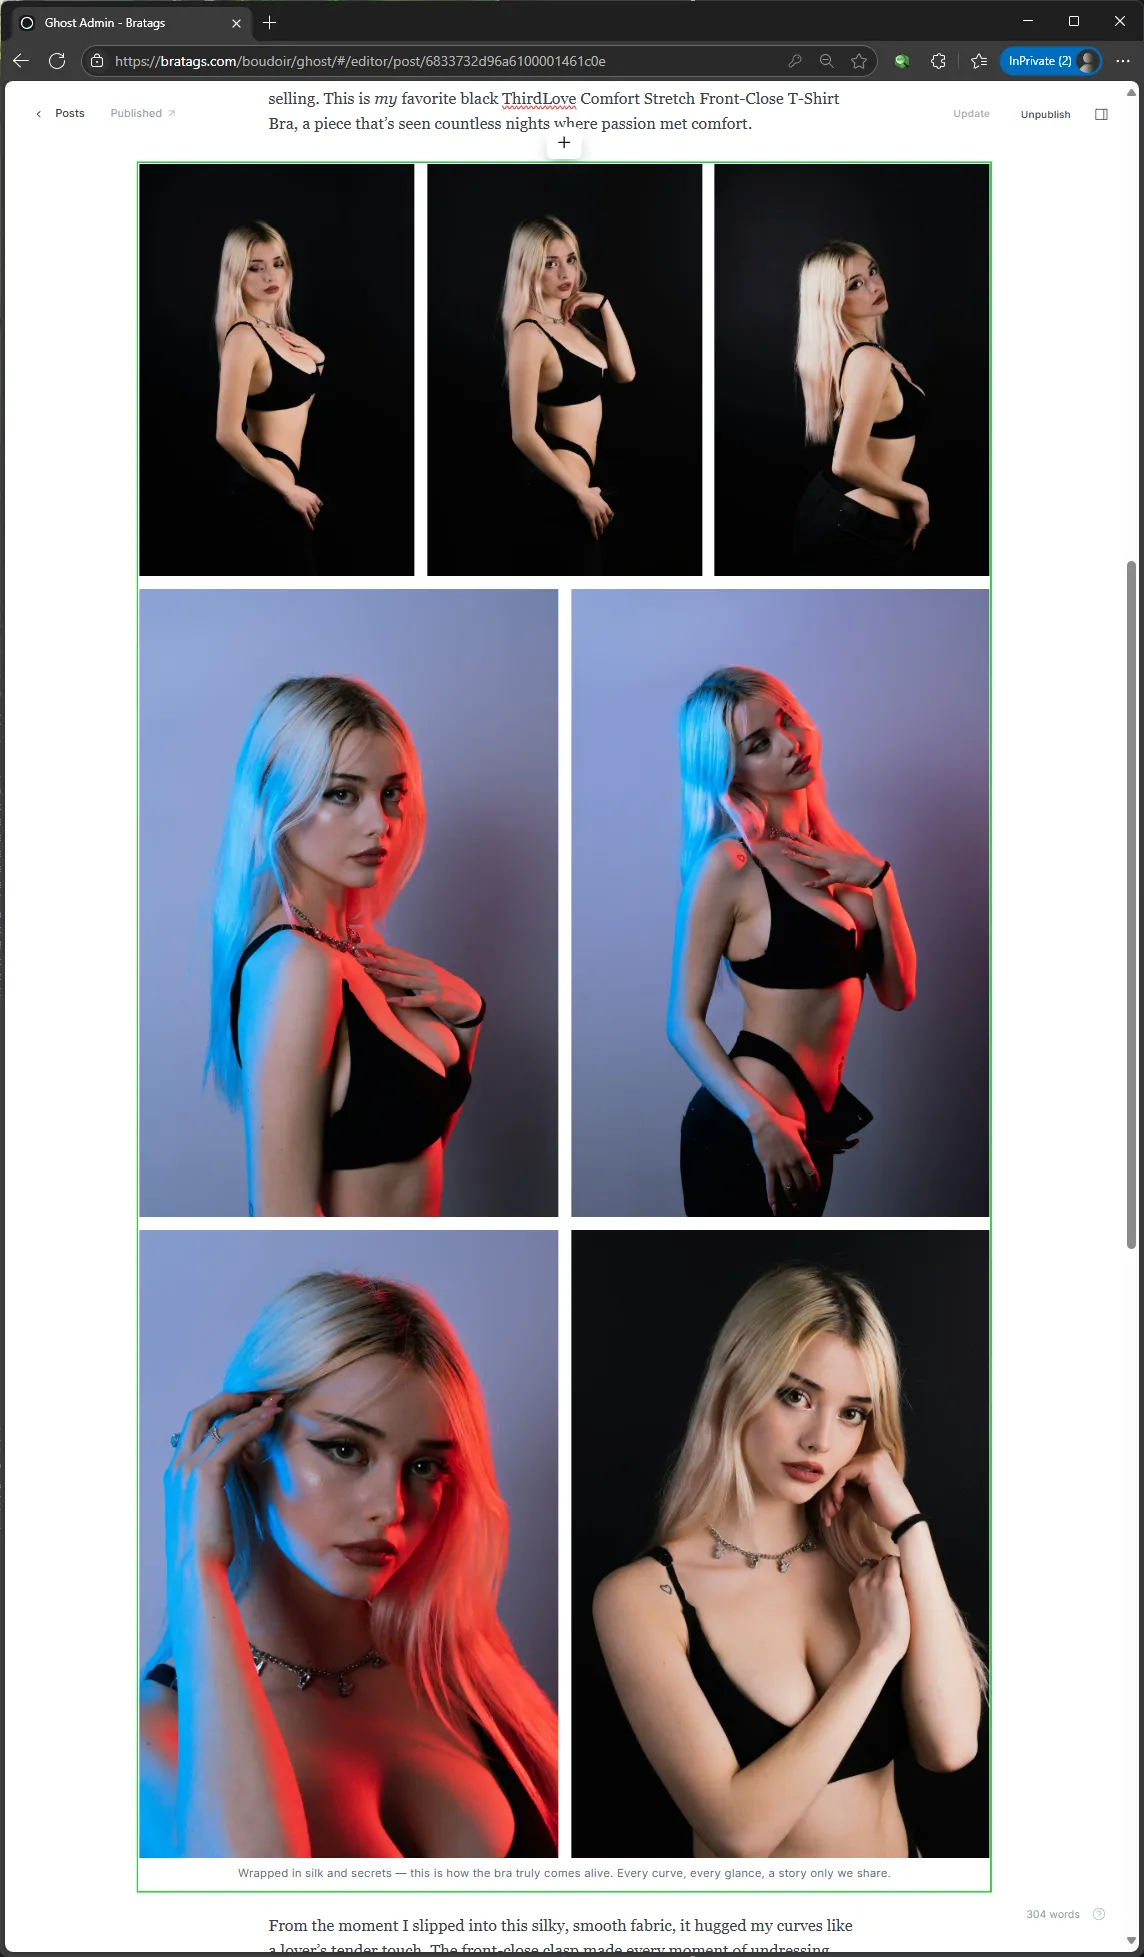
- 📸 You wearing the bra – This adds personality and builds trust.
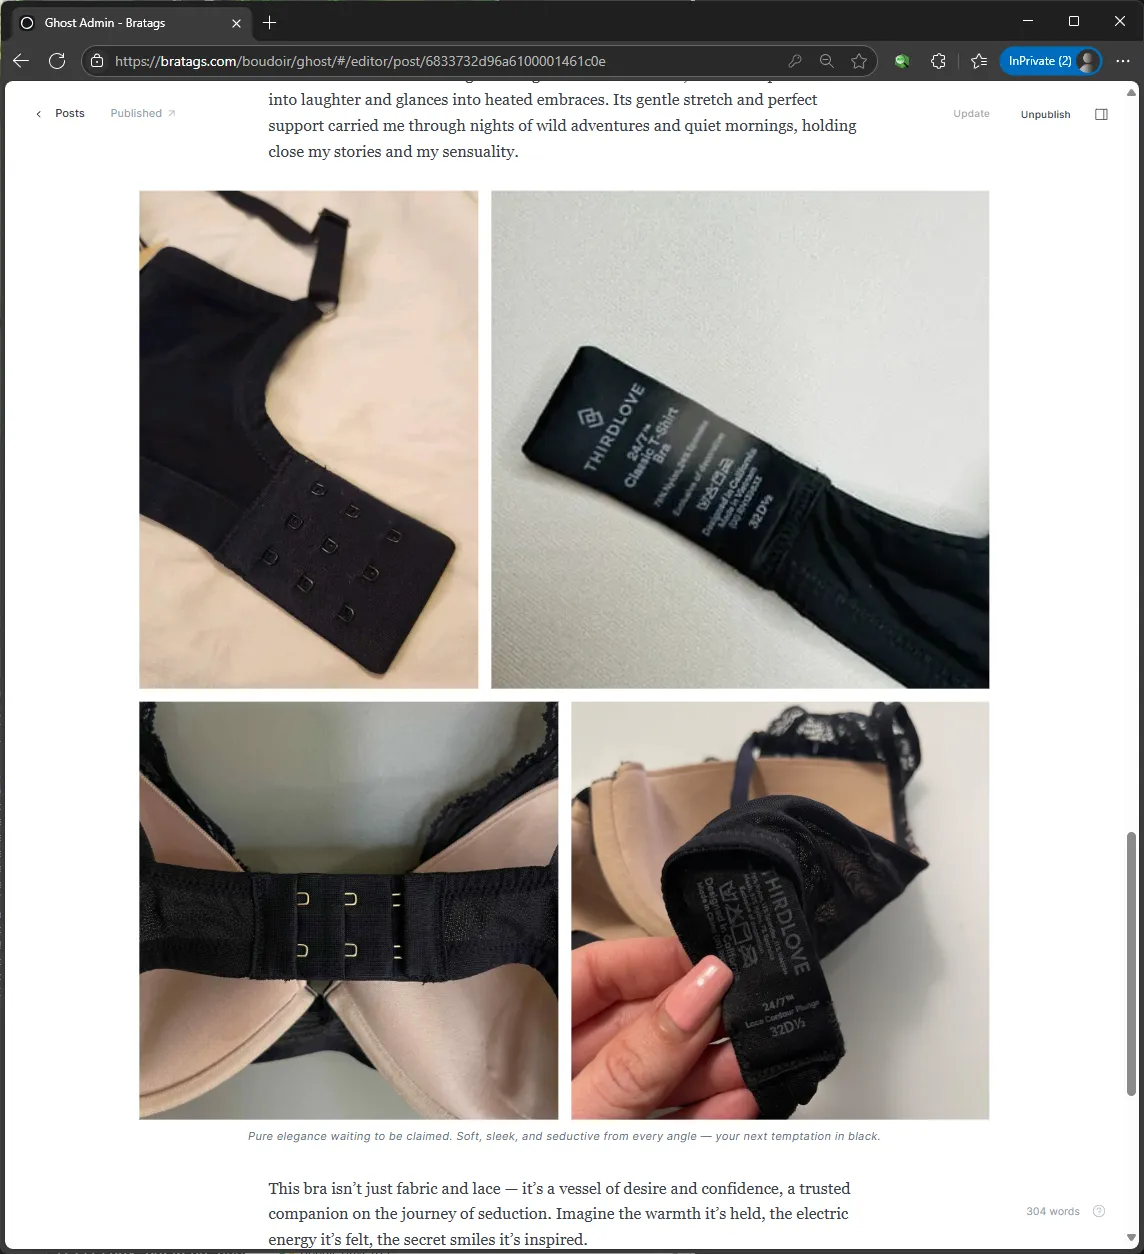
- 🔍 Close-ups of fabric and details – Show any lace, padding, or textures.
- 🏷️ A clear photo of the bra tag – A clear photo of the bra tag – Buyers look for sizing and authenticity, and Bratags requires it to verify your listing before releasing payment.
- 📹 Recommended: Quick vids are everything — even a 5–10 second clip helps! Do a slow pan over the fabric, a little 360 spin, whatever feels cute. Little details like that go a long way in showing it’s the real deal.
📌 Tip: Multiple angles make a huge difference. Think front, side, back (that goes for you as well: 😉)—just like online shopping photos you trust.
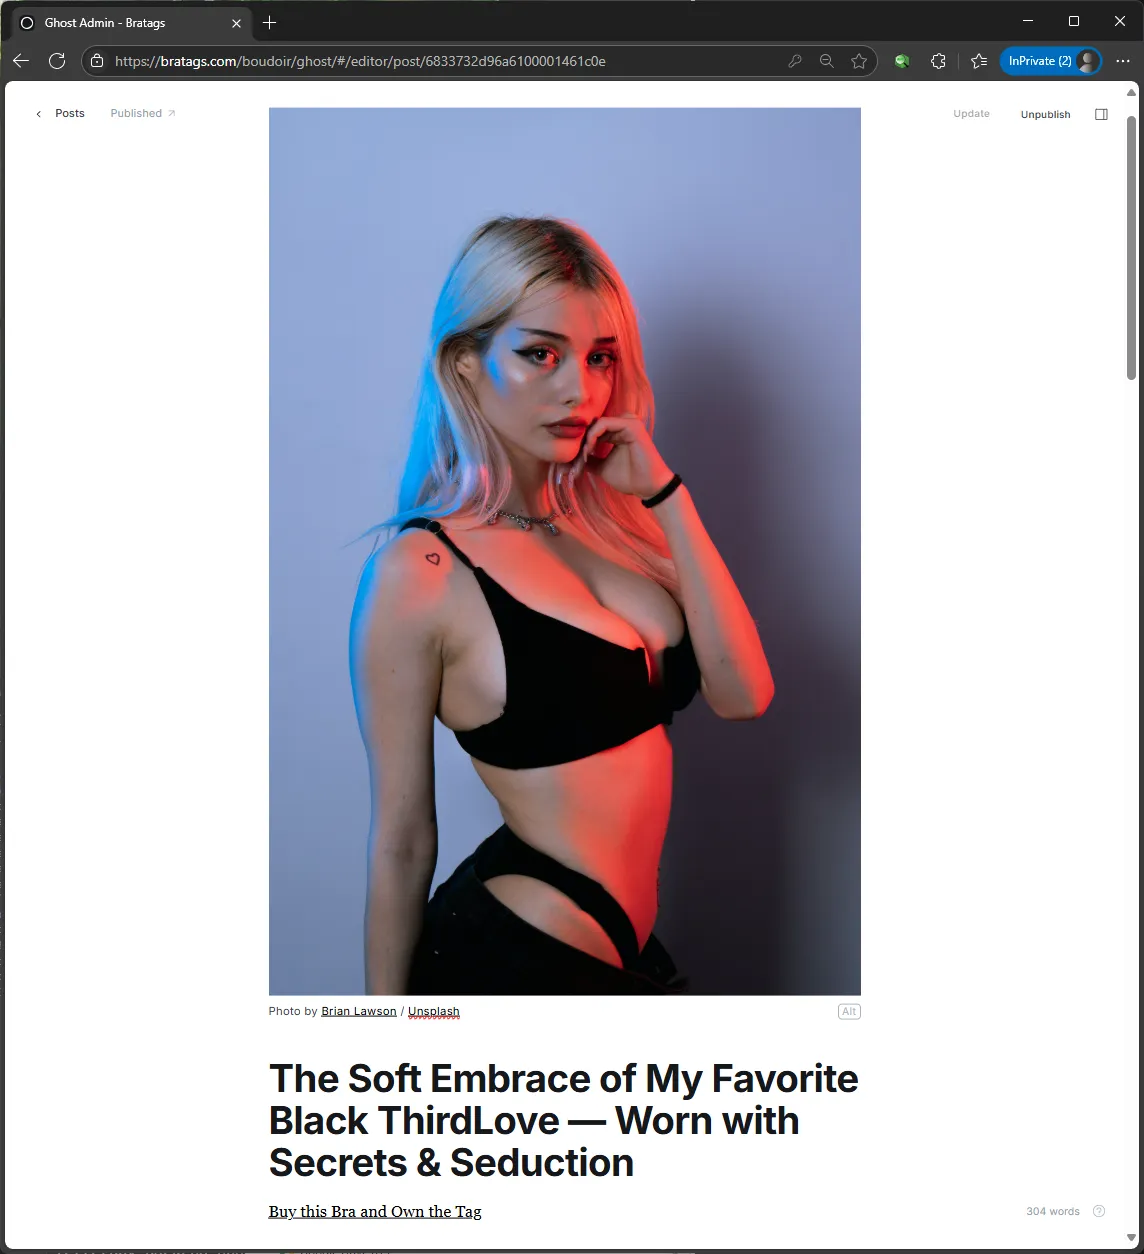
Step 4: Choose Your Main Image
This is the first photo people will see—make it count. Ideally, it’s:
- Well-lit
- In focus
- Shows the bra clearly being worn
- Tells a bit of your personal aesthetic or vibe
Step 5: Publish and Preview
Once everything looks good, hit Publish. Then view your live listing to make sure:
- Photos load properly
- Pricing info is correct
- Tags appear (and Stripe link works, it may take a few moments to update)
Final Tips for Success
- Don’t be afraid to overshare media—"film" is free!
- Listings with more detail and media get more trust, engagement, and sales.
- Stay responsive to messages from buyers—communication builds loyalty.
You're now live on Bratags! 🎉
Ready to make your next post? Keep creating, experimenting, and improving—buyers notice the effort.
Happy selling 💕